
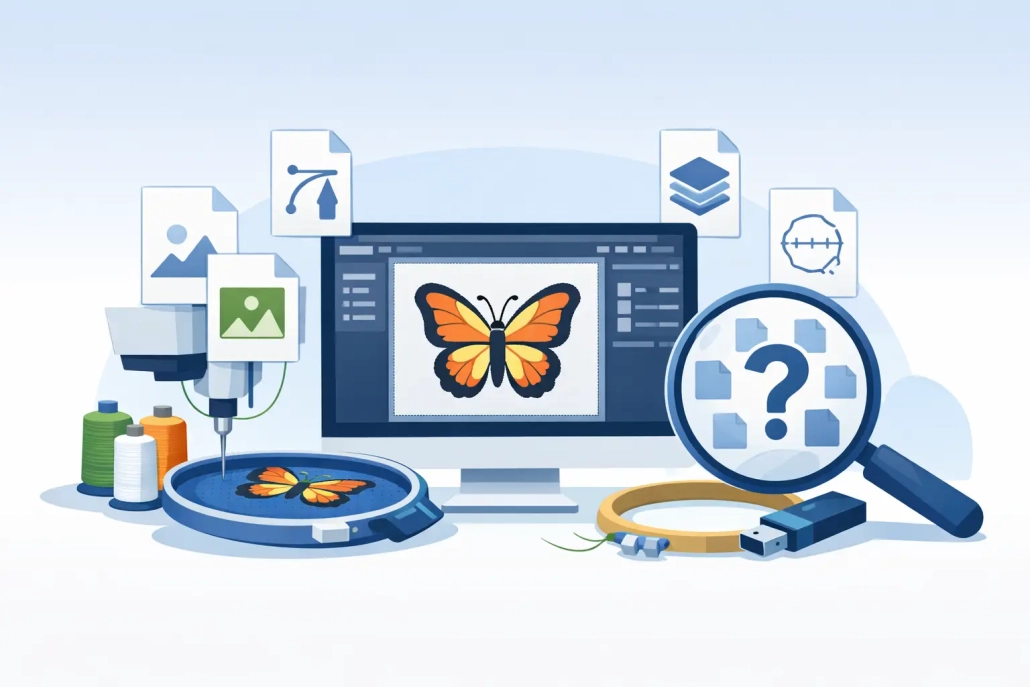
What File for Digitizing? Start Here
When a customer sends a logo five minutes before press time and asks, what file for digitizing do you need, the wrong answer costs time. It leads to redraws, approval delays, and stitch problems that show up on the machine. The right answer depends on the artwork, the decoration method, and how clean the original file is.
For embroidery production, there is no single perfect upload for every job. But there are clearly better file types to start with, and choosing the right one can cut hours out of pre-production. If you run an embroidery shop, apparel business, or promo operation, this is where cleaner workflows begin.
What file for digitizing is best?
If you want the short version, the best file for digitizing is usually a vector file such as AI, EPS, or PDF. These formats keep lines, curves, and shapes clean, which makes it easier to interpret the logo accurately before stitch programming begins.
That said, digitizing is not the same as converting a file directly into stitches. Even the best artwork still has to be rebuilt for embroidery. A digitizer decides stitch type, direction, density, underlay, pull compensation, and sequencing based on the fabric and design size. So while vector art is the best starting point, it does not replace actual digitizing.
If vector art is not available, a high-resolution PNG, PSD, TIFF, or JPG can still work. The catch is that image quality matters a lot. A blurry web graphic or screenshot may be enough to identify a concept, but it is rarely enough for efficient production.
The best artwork formats for embroidery digitizing
Vector files are preferred because they are cleaner, scalable, and easier to separate visually. If a client sends an AI or EPS with fonts outlined and colors clearly defined, the digitizing process moves faster. Small lettering, borders, and shape relationships are easier to read, and that usually means fewer questions back to the customer.
PDF files are also strong options, especially when they were exported from original vector artwork. A PDF can either be vector-based or image-based, so it helps to verify what is inside. A sharp PDF built from Adobe Illustrator is far more useful than a PDF made from a low-quality scan.
PNG files are often the next best option when vector art is unavailable. They can preserve transparency and usually avoid the compression artifacts that make JPG files messy around edges. For logos on clean backgrounds, PNG can be very workable if the resolution is high enough.
PSD and TIFF files can be excellent when they come from a designer who kept layers organized and resolution high. These formats are more common in creative departments than in embroidery shops, but they can provide useful detail for redraws and art cleanup.
JPG files are the most common file type customers send and often the most frustrating. A high-resolution JPG may still be usable, but compression softens edges and creates visual noise. That becomes a problem when the logo includes fine outlines, small text, or color breaks that need to be interpreted precisely.
What file for digitizing works fastest in production?
The fastest file is the one that needs the fewest assumptions. In real production, that usually means a clean vector logo paired with size details and placement notes. If the job is for a left chest, cap front, patch, or jacket back, that context matters as much as the file itself.
A cap logo, for example, may require structural adjustments for center-out sewing and limited height. A towel design may need different underlay and density because of the nap. A jacket back can carry more detail, but only if the file supports it clearly. So the best file is not just about software compatibility. It is about how much usable information the artwork gives the digitizer before production starts.
This is why experienced shops do not ask only for the file type. They ask for dimensions, garment type, stitch area, and whether the customer wants the logo kept exact or adapted for embroidery. Some art looks good on screen but needs simplification to run cleanly on fabric.
File types that are often confused with digitizing files
One of the most common mistakes is assuming that DST, EMB, PES, EXP, or JEF files are the same thing as artwork files. They are not. These are machine or embroidery output files, not original design files for artwork review.
A DST file contains stitch commands, not editable logo construction. If a customer asks for a design update but only provides a DST, the digitizer has limited flexibility. Small edits may be possible depending on the file and software, but major revisions usually require going back to the original art or rebuilding the file.
That is why shops should keep both sides of the job organized. Save the source artwork and save the final machine file. If you only keep the production file, future edits become slower and more expensive than they need to be.
When a low-quality file can still work
Not every customer has an AI file ready to go. Many small businesses only have a website logo, a social media image, or a photo of a printed business card. That does not automatically kill the job, but it changes the workflow.
In those cases, the real question is not simply what file for digitizing is acceptable. The question is whether the artwork can be redrawn accurately before digitizing starts. If the logo is simple, with bold shapes and limited text, even a fair-quality image may be enough to recreate it. If it contains gradients, distressed effects, tiny lettering, or overlapping details, more cleanup will be needed.
This is where professional vector conversion and embroidery digitizing often go hand in hand. First the art gets rebuilt into a clean, production-ready format. Then it gets digitized for the target application. For many apparel decorators and print shops, outsourcing both steps is the fastest route to a usable file.
How to send files that reduce revisions
The file itself matters, but so does how you package the job. A clean upload with missing instructions can still create delays. The best submissions include the logo file, target size, placement, garment type, thread color notes, and any brand requirements that cannot change.
If the design has small text, say what can be adjusted. If the logo has gradients or shadows, clarify whether they must be simulated in thread or simplified. If this is a repeat order, include the previous sew-out or production file for reference. Those details help the digitizer make commercial decisions that protect stitch quality while keeping the look on brand.
For contract shops and high-volume decorators, this matters even more. Small gaps in job information create stack-ups across multiple orders. Clear file prep is not a minor admin step. It is part of keeping production moving.
The practical answer for shops and brands
If you are building a dependable workflow, ask customers for AI, EPS, or vector PDF first. If they do not have that, request a high-resolution PNG or PSD. Avoid relying on screenshots, web thumbnails, or compressed JPG files unless the art is simple enough to redraw without guesswork.
Also separate artwork files from embroidery output files in your process. Source art should stay editable. Machine files should stay production-specific. When those get mixed together, revisions become harder and version control starts slipping.
At UltraEMB, this is exactly why clean file intake matters so much. Faster turnaround is not just about working quickly. It starts with getting the right file, the right specs, and the right production intent from the beginning.
A good digitizing result starts before the first stitch is assigned. Send the cleanest art you have, include the job details that affect sew quality, and treat file prep like part of production, because it is.
 designs@ultraemb.com

Leave a Reply
Want to join the discussion?Feel free to contribute!