
What File Is Needed for Embroidery?
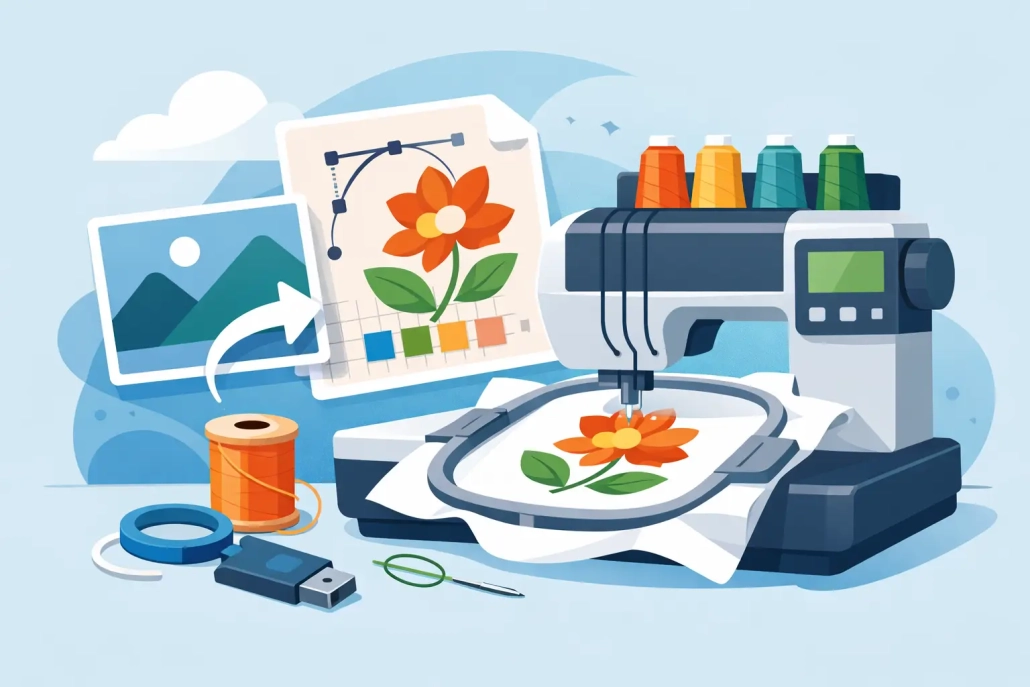
You can have a sharp logo, the right garment, and a customer ready to approve the job – and still hit a wall if the artwork is in the wrong format. That is why one of the most common production questions is what file is needed for embroidery. The short answer is this: embroidery machines do not read standard image files the way printers do, so the design has to be converted into a machine-ready embroidery file.
That distinction matters more than most buyers expect. A JPG may look fine on screen. A PNG may have a clean background. A PDF may open perfectly in your design software. None of that means the file is ready to run on an embroidery machine. For embroidery, the artwork has to be digitized so the machine knows where stitches start, stop, layer, and change direction.
What file is needed for embroidery on a machine?
The file needed depends on the brand of machine being used. Common embroidery machine formats include DST, PES, EXP, JEF, VP3, and XXX. Among commercial shops, DST is one of the most widely requested formats because many industrial machines support it. Home and specialty machines often use other formats, with PES and JEF being especially common.
This is where confusion usually starts. People often ask for an embroidery file when they really mean artwork for embroidery. Those are not the same thing. Artwork files such as AI, EPS, PDF, SVG, PNG, or JPG are source files. They are useful for creating the design and for digitizing it, but they are not the stitch file a machine needs to sew.
A machine file contains stitch commands, not just appearance. It tells the machine the stitch type, stitch angle, sequence, density, trims, color changes, and pathing. Without that conversion, the machine has nothing it can actually run.
Why a JPG or PNG is not enough
A logo image only shows what the design looks like. It does not contain embroidery logic. That means the file does not tell the machine how satin stitches should run around text, where underlay should support a fill area, or how to reduce pull on a cap front.
This is why shops that try to run artwork directly from a customer-supplied image usually end up losing time. The design has to be interpreted and rebuilt for embroidery. Fine lines may need to be thickened. Small text may need to be simplified. Gradients often have to be converted into solid thread areas or smart stitch patterns. Even a clean vector file still needs digitizing before production.
For production managers and decorators, this is the key point: embroidery is not print. The same logo cannot always be used the same way across screen print, DTF, signage, and embroidery. Each decoration method has its own technical rules, and embroidery is one of the most format-sensitive.
The best artwork to send before digitizing
If you are asking what file is needed for embroidery because you are preparing an order, the best file to send at the start is usually a vector file. AI, EPS, PDF, and SVG are strong options because they preserve clean shapes and accurate proportions. That gives the digitizer a better foundation to build from.
High-resolution PNG files can also work when vector art is not available, especially for simpler logos. JPG files are usually the least preferred option because compression can soften edges and make details harder to read. If the design is low resolution, blurry, or pulled from a website screenshot, digitizing becomes slower and less predictable.
Still, there is no one-size-fits-all rule. A clean 300 DPI PNG may be more usable than a badly built vector. A simple one-color logo can often be digitized accurately from good raster art. On the other hand, a complex corporate mark with tight spacing and small typography benefits from proper vector source art.
What file is needed for embroidery digitizing?
When the goal is digitizing, the ideal input file is the cleanest version of the customer’s art, not necessarily a machine file. A digitizer can create the final stitch file from vector artwork, a high-quality raster file, or even a clear scan in some cases. But the quality of the input affects speed, revision risk, and stitch accuracy.
That means the better question is often not just what file is needed for embroidery, but what file is best for digitizing the design correctly the first time. In commercial workflows, vector art is usually the strongest starting point because it allows clean resizing and better shape definition. After digitizing is complete, the production team receives the machine format required for the specific equipment.
If you run multiple machine brands, you may need the same design exported into more than one file type. That is common in larger shops or outsourced production setups. The actual stitch logic may stay the same, but the format delivered can vary by machine requirement.
Common embroidery file formats and what they mean
DST is one of the most common commercial embroidery formats. It is widely used because many industrial embroidery machines support it, making it a practical standard for production environments.
PES is commonly used with Brother and Baby Lock machines. JEF is associated with Janome. EXP is often used with Melco and Bernina systems. VP3 is linked with Husqvarna Viking and Pfaff machines. There are many others, but these are the formats buyers run into most often.
The important takeaway is that format compatibility matters. If the file is digitized well but saved in the wrong extension for your machine, you still cannot run the job without conversion or re-export. That is why production-ready delivery should always be matched to the machine brand and model in use.
Why digitizing matters more than the file extension
It is easy to focus on the extension at the end of the file name, but the real make-or-break factor is digitizing quality. A poor DST file is still a poor embroidery file. If stitch density is too heavy, push and pull are ignored, or sequencing is inefficient, the design may pucker, break thread, lose detail, or run slowly.
Good digitizing takes the garment, placement, backing, and design type into account. A left chest logo on pique polo fabric needs a different approach than a foam cap design. A towel design needs compensation for nap. A jacket back needs smart sequencing across a larger field. A patch needs clean border control and reliable edge coverage.
That is why experienced shops do not just ask for a file. They ask the right production questions. What garment is this going on? What size will it sew? How small is the text? Is this for flats, caps, towels, or patches? File format matters, but production context matters just as much.
How to avoid delays when submitting artwork
If you want faster turnaround and fewer revisions, send the cleanest art you have, include target dimensions, and specify the machine format you need. If the job is going on caps, mention that up front. If you need the same logo for left chest and jacket back sizes, say so early because those may require different digitizing treatments.
It also helps to include thread color references, brand guidelines, or a photo of a previous sew-out if one exists. The more accurate the production information, the easier it is to build a file that performs well instead of just looking correct on screen.
For outsourced embroidery support, this is where a reliable digitizing partner saves time. Shops do not need to stop production to troubleshoot art problems, guess at formats, or rebuild customer logos from poor files. They need quick, accurate conversion into the right embroidery format for the job at hand.
The practical answer shops can use
So, what file is needed for embroidery? For the machine, you need a digitized embroidery file such as DST, PES, JEF, EXP, or another format that matches your equipment. For the digitizing process, the best starting point is usually vector artwork like AI, EPS, PDF, or SVG, though a high-quality PNG can still work for many jobs.
If you are ordering embroidery services or preparing customer art, do not assume a logo file is embroidery-ready just because it looks clean. The design still has to be translated into stitches that suit the fabric, placement, and machine. That is where quality, speed, and production experience make the difference.
When deadlines are tight and the order has to run right the first time, clear file prep is not a small detail. It is the part that keeps your production moving and your customer confident in the final result.
 designs@ultraemb.com

Leave a Reply
Want to join the discussion?Feel free to contribute!